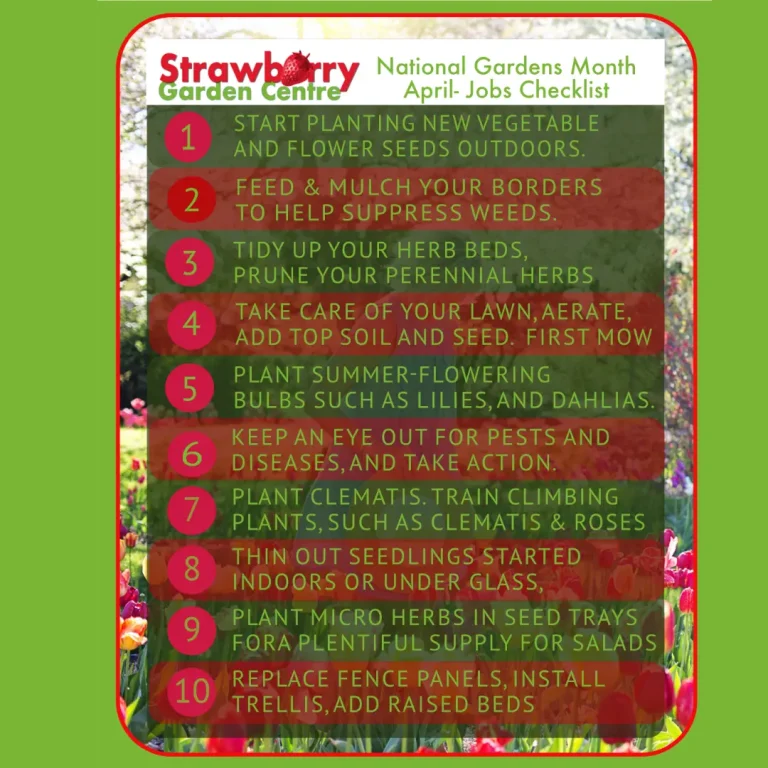
April is National Gardens Month and the Easter weekend is frequently the first chance we get to start the gardening year. We have put together a checklist of ideas for you to consider for this month. We are able to supply all you need to undertake any of these jobs around the garden and get your gardening year off to a great start.
1. Start planting new vegetable and flower seeds outdoors. April is the perfect time to sow seeds for a variety of plants, including carrots, lettuce, radishes, peas, zinnias, and sunflowers. Check out our extensive seed ranges from Mr Fothergills, Sarah Raven and David Dolmoney.
April is the perfect time to start sowing seeds for a wide range of plants, including popular vegetables and gorgeous flowers. With warmer temperatures and longer days ahead, these plants have the best chance to grow into healthy and vibrant specimens. But why is April such a great month for sowing seeds? The answer lies in the combination of soil temperature and moisture content. As spring starts to kick into gear, the soil begins to warm up, which is perfect for seed germination. Additionally, April is typically a rainy month in many regions, providing ample moisture for seeds to sprout and develop. By sowing your seeds in April, you can take advantage of these ideal growing conditions and help ensure the success of your plants. If you’re planning on sowing seeds in April, there are a few tips to keep in mind. First, make sure to choose a location that gets plenty of sunlight and has nutrient-rich soil. You’ll also want to prepare the soil by removing any weeds or debris and tilling it to a depth of at least six inches. When sowing, make sure to follow the instructions on the seed packet regarding planting depth and spacing. Finally, water your seeds regularly to keep the soil moist and provide your plants with the best possible environment to grow. With a little care and attention, you can enjoy a bountiful harvest or a field of gorgeous blooms in no time!
2. Feed and mulch your borders to help suppress weeds and retain moisture. Use a good quality organic mulch, such as well-rotted compost or bark chips. We now supply landscaping bark in bulk bags available for local delivery.
Here’s a guide on the best way to feed and mulch your borders:
Feeding and mulching your borders is an essential task for any gardener, as it helps to suppress weeds and retain moisture in the soil, which will help keep your plants healthy and happy.
- Feeding: Feeding your plants with a well-balanced fertiliser will provide them with the essential nutrients they need. A slow-release granular fertiliser is the best option as it slowly releases nutrients into the soil over time, providing a steady supply of food for your plants. Sprinkle the fertiliser around the base of your plants and lightly scratch it into the soil surface, being careful not to disturb the roots.
- Mulching: Mulching is one of the most effective ways to suppress weeds and retain moisture in the soil. You can use a range of materials for mulching, such as organic matter like leaf mould, well-rotted manure, or compost. Apply a layer of mulch around the base of your plants, making sure it is two to three inches deep, but not touching the stems of your plants. This will help trap moisture in the soil, prevent it from evaporating, and keep the roots of your plants cooler during hot weather. Lighter mulch materials such as straw, grass cuttings, or shredded leaves are typically better, as they can easily penetrate the soil and decompose quickly, adding valuable organic matter to your soil. In summary, feeding and mulching your borders using slow-release granular fertilisers and a light organic mulch material is the best way to help suppress weeds and retain moisture in the soil.
- With this advice, you can keep your borders looking healthy and lush all season long.
3. Tidy up your herb beds, add new herb plants and prune your perennial herbs, such as rosemary and thyme, to encourage bushy growth. We have a great selection of herbs ready to plant now.
Tidying up your herb beds and pruning your perennial herbs in April is a great way to encourage bushy growth and maintain healthy plants. Here’s how you can do it:
1. Tidy up the bed: Start by removing any dead or yellowing leaves and stems from your herb plants. This will help to keep the plants looking tidy and will prevent any decaying matter from providing a breeding ground for pests and diseases.
2. Prune the plants: When pruning your perennial herbs, such as rosemary and thyme, you should aim to remove about one-third of the plant’s growth. This will encourage new growth and help the plant maintain its shape. Be careful not to prune too much, as this can damage the plant and reduce its overall health.
3. Choose the right tools: Use sharp, clean secateurs or scissors to prune your herbs, as this will help to prevent any damage to the plant. Clean your tools with rubbing alcohol before and after use to prevent the spread of disease.
4. Pruning technique: When pruning, make clean cuts just above a set of leaves or a dormant bud, as this will encourage new growth at that point. Avoid cutting into old wood, as this can cause the plant to die back.
5. Fertilise: After pruning, it’s a good idea to fertilise your herbs with a balanced organic fertiliser. This will provide the plant with the nutrients it needs to produce healthy new growth. By following these steps, you can tidy up your herb bed and prune your perennial herbs to encourage bushy growth and maintain healthy, vibrant plants.
4. Keep an eye on your lawn and mow it regularly as the weather warms up. Aerate the lawn using a bedding fork. Our Burgon & Ball range are ideal for this. You may also want to feed it with a spring lawn fertiliser.
Taking care of your lawn in April is essential to ensure that it looks healthy and lush all season long. By following a few simple steps, you can keep your lawn looking its best.
Here’s how:
1. Rake and remove debris: After a long winter, your lawn may be dotted with leaves or other natural debris. Using a leaf rake, remove the debris from your lawn before mowing. This will ensure that the debris doesn’t block sunlight from reaching the grass blades.
2. Mow regularly: As the weather warms up, your lawn will start to grow faster. It is important to mow your lawn regularly during this time, using a sharp blade to avoid tears or damage to the grass. Set your mower height to about three inches so that the grass isn’t cut too short. This will help to promote healthy growth and retain moisture in the soil.
3. Aerate the soil: If your lawn has heavy traffic or compacted soil, it can benefit from aeration. Aerating the soil involves creating small holes in the ground to allow air, water, and nutrients to penetrate the root system more easily. This helps to promote healthy root growth and improve the overall health of your lawn.
4. Fertilise: Fertilising your lawn in April can help promote healthy growth and ensure that it stays healthy throughout the season. Look for a slow-release, nitrogen-rich fertiliser and apply it according to the package instructions. Water your lawn after applying the fertiliser to help it soak into the soil.
5. Water: Finally, make sure to water your lawn regularly, especially during hot, dry weather. Deep watering once a week is better than shallow watering every day. This helps the roots grow deeper and become more resilient to drought conditions. By following these steps, you can ensure that your lawn stays healthy and lush throughout the season. A well-cared-for lawn will not only look great but also provide a soft, inviting space for you and your family to enjoy.
5. Start planting summer-flowering bulbs, such as gladiolus, lilies, and dahlias, either in containers or directly into the ground. The frost safe range of containers from Errington Reay & Co are a perfect home for your bulbs and will guarantee an impressive display for years to come.
Plant summer-flowering bulbs, such as gladiolus, lilies, and dahlias, that are a beautiful addition to any garden.
Here’s how you can plant and care for them:
1. Planting: Summer-flowering bulbs should be planted in the spring when the soil has warmed up. Choose a location with well-draining soil and plenty of sunlight. Dig a hole that is two to three times deeper than the height of the bulb and add some organic matter to the bottom of the hole. Place the bulb in the hole with the pointed end facing upwards and cover it with soil. Space the bulbs out according to the instructions on the package.
2. Watering: Once you’ve planted your bulbs, water them thoroughly to help settle the soil and provide the necessary moisture for growth. Water your bulbs regularly, especially during dry spells, but be careful not to overwater them as this can cause the bulbs to rot.
3. Fertilising: Summer-flowering bulbs benefit from fertilisation to promote healthy growth and abundant blooms. Apply a slow-release granular fertiliser once or twice during the growing season, following the package instructions. You can also supplement with liquid fertiliser every two weeks.
4. Staking: As the plants grow taller, staking may be necessary to prevent them from falling over in the wind or rain. Use garden stakes and ties to secure the plants to stay upright.
5. Deadheading: To encourage the plants to continue producing blooms, it’s important to deadhead regularly. Remove spent flowers by cutting them off close to the stem using scissors or pruners. This will redirect the energy of the plant towards producing new flowers.
6. Overwintering: Before the first frost, you’ll need to dig up the bulbs and store them indoors in a cool, dry place. Remove any dead foliage, allow the bulbs to dry, and then place them in a paper bag or cardboard box with some sawdust or peat moss to prevent them from drying out.
By following these tips, you can enjoy the beauty of summer-flowering bulbs in your garden year after year.
6. Keep an eye out for pests and diseases, and take appropriate action if necessary. For example, you can use natural predators such as ladybirds to control aphids.
April is a time when many pests and diseases start to emerge as the weather warms up, so it’s important to be vigilant to protect your plants.
Here are some of the most common pests and diseases to look out for in April and how you can protect your plants from them:
1. Aphids: Aphids are small, soft-bodied insects that feed on the sap of plants. They can be found on leaves, stems, and flowers, and can cause damage by stunting plant growth and spreading viruses. You can control aphids by spraying your plants with a strong jet of water to dislodge them or using insecticidal soap or neem oil.
2. Slugs and Snails: Slugs and snails can be a problem for young, tender plants, as they can eat the leaves and stems, leaving behind unsightly holes. They can be controlled by handpicking them off your plants, using slug traps or beer traps, or by applying slug pellets.
3. Powdery Mildew: Powdery mildew is a fungal disease that appears as white, powdery patches on leaves and stems. It can be caused by high humidity and poor air circulation. To prevent powdery mildew, make sure your plants have good air circulation and avoid watering them at night. You can use a fungicide to treat powdery mildew.
4. Root Rot: Root rot is a condition where the roots of a plant become damaged or infected, causing them to die back. This can be caused by overwatering, poor drainage, or fungal infections. To prevent root rot, make sure your plants are planted in well-draining soil and avoid overwatering.
5. Spider Mites: Spider mites are tiny pests that suck the sap from the leaves of plants, causing them to become yellow and unhealthy-looking. To control spider mites, you can use insecticidal soap, neem oil, or introduce natural predators such as ladybugs. By being vigilant and taking appropriate steps to protect your plants from pests and diseases, you can keep them healthy and vibrant throughout the growing season.
7. Plant a clematis. Train climbing plants, such as clematis and roses, onto their supports and tie in new growth as necessary.
April is a fantastic month for planting clematis in the UK.
This is because the ground has started to warm up after winter, but before the hot summer months set in, providing the perfect conditions for establishing new plants.
Clematis is a beautiful climbing plant that comes in a wide variety of forms, colours and fragrances, making it a versatile and popular choice for many gardeners. When it comes to choosing which variety of clematis to plant, there are a few key things to consider.
Firstly, think about the size of the plant you want – some varieties can grow up to 20 feet tall, while others are compact and ideal for growing in pots or smaller spaces.
Secondly, consider the aspect of your garden – do you want a clematis for sunny or shady areas? Different varieties perform best in different light conditions, so it’s important to choose the right one for your garden.
Some of the most popular clematis varieties for planting in April include ‘Josephine’, a large-flowered cultivar with pink petals and yellow stamens, and ‘Arabella’, a non-climbing variety that produces clusters of star-shaped flowers in shades of lavender-blue.
Other popular options include ‘Multi Blue’, a multi-petalled blue-violet clematis that is great for growing up trellises, and ‘Perle d’Azur’, a compact clematis with pale blue flowers that is perfect for growing in pots.
Overall, clematis is a beautiful and hardy plant that is perfect for adding vertical interest to your garden. With so many varieties to choose from, there is sure to be a clematis that will thrive in your garden and provide you with a stunning display throughout the summer months.
Train climbing plants, such as clematis and roses, onto their supports and tie in new growth as necessary.
8. Start to thin out any seedlings that you have started indoors or in a greenhouse, so that they have plenty of space to grow.
Start thinning out your seedlings now to give them more space to grow. Professional gardeners know that overcrowding can stunt the growth of plants and reduce the overall yield. Pruning is an important part of the process, as it allows each individual seedling to absorb more nutrients and light from its environment. Thinning out your seedlings now will give you great results later in the season.
9. Replace fence panels, install trellis or add raised beds from our extensive range of timber sleepers. We have a premium range of these in our new landscaping centre available for local delivery.
Our landscaping centre is perfect for professional home and landscape gardeners looking to make a statement in their outdoor space. We offer a premium range of timber sleepers, fence panels and trellis from our extensive selection- all available for local delivery. Add a touch of luxury to your garden with some of our quality products today!
10. Plant Micro Greens in seed trays for a plentiful supply for salads throughout the summer.
Planting and caring for Micro Greens is an easy way to provide a plentiful supply of greens throughout the summer. With the right seed trays, soil, and sunlight, home gardeners and landscape gardeners can use this professional technique to cultivate their own plants with ease.
With regular watering and care, you can enjoy your own freshly grown greens in salads all season long.